|
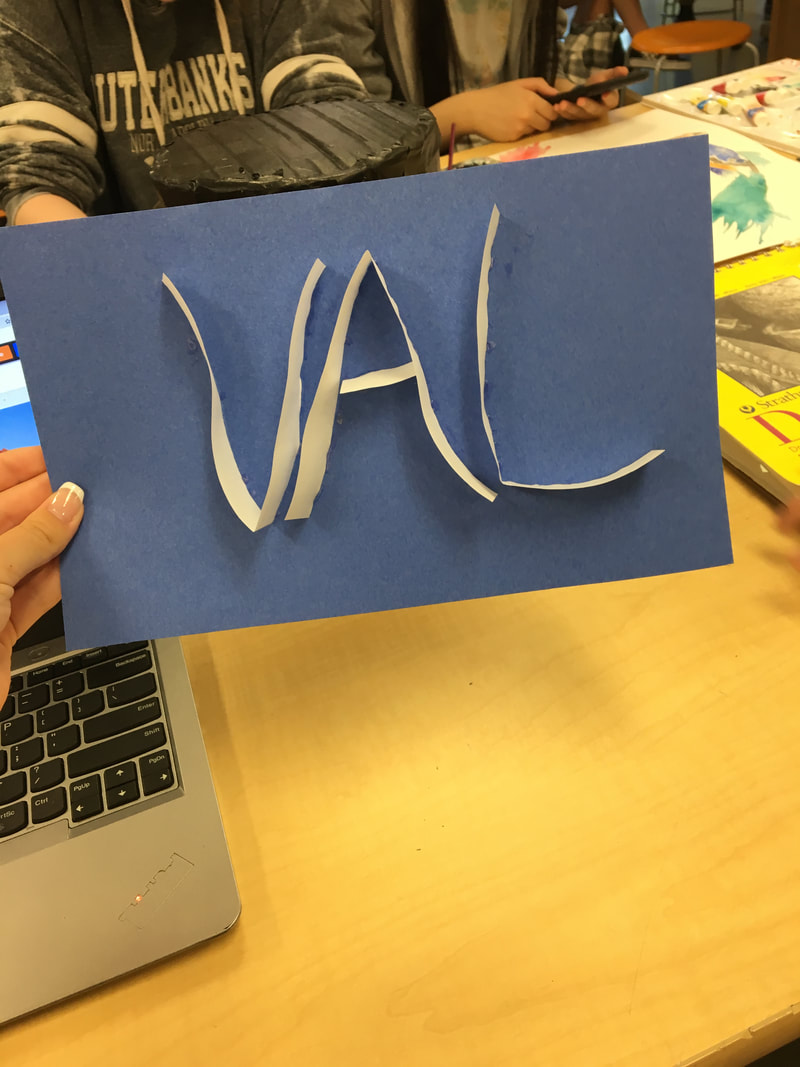
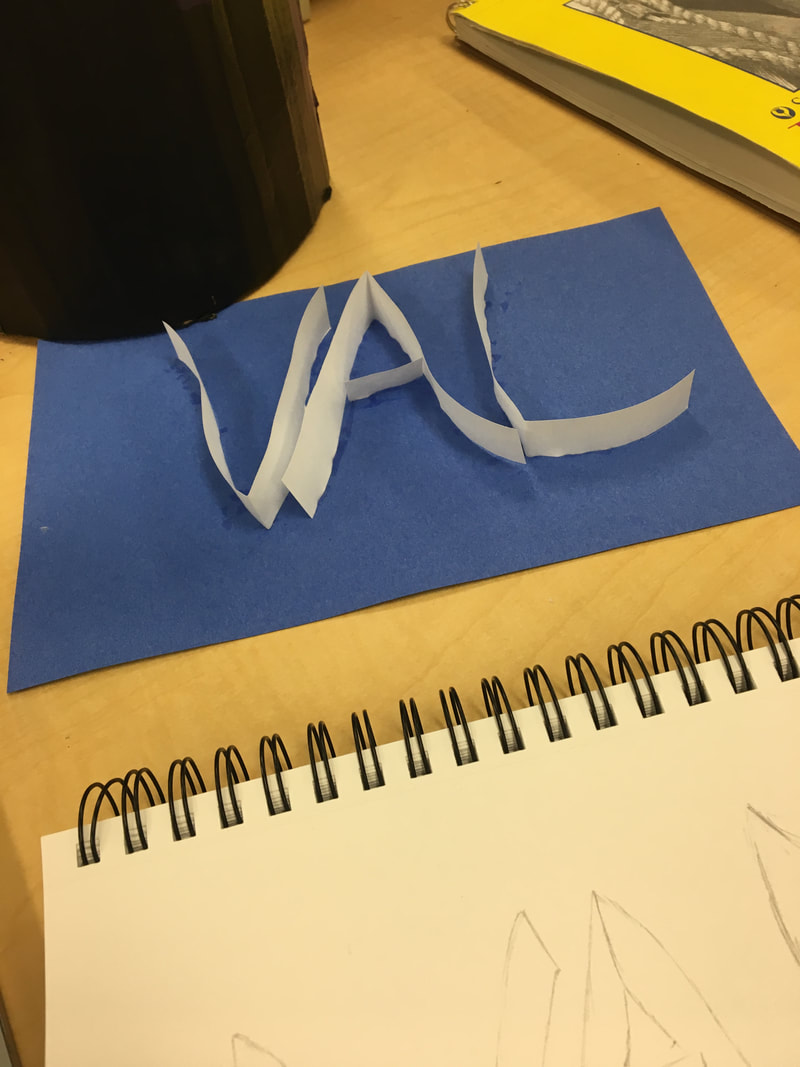
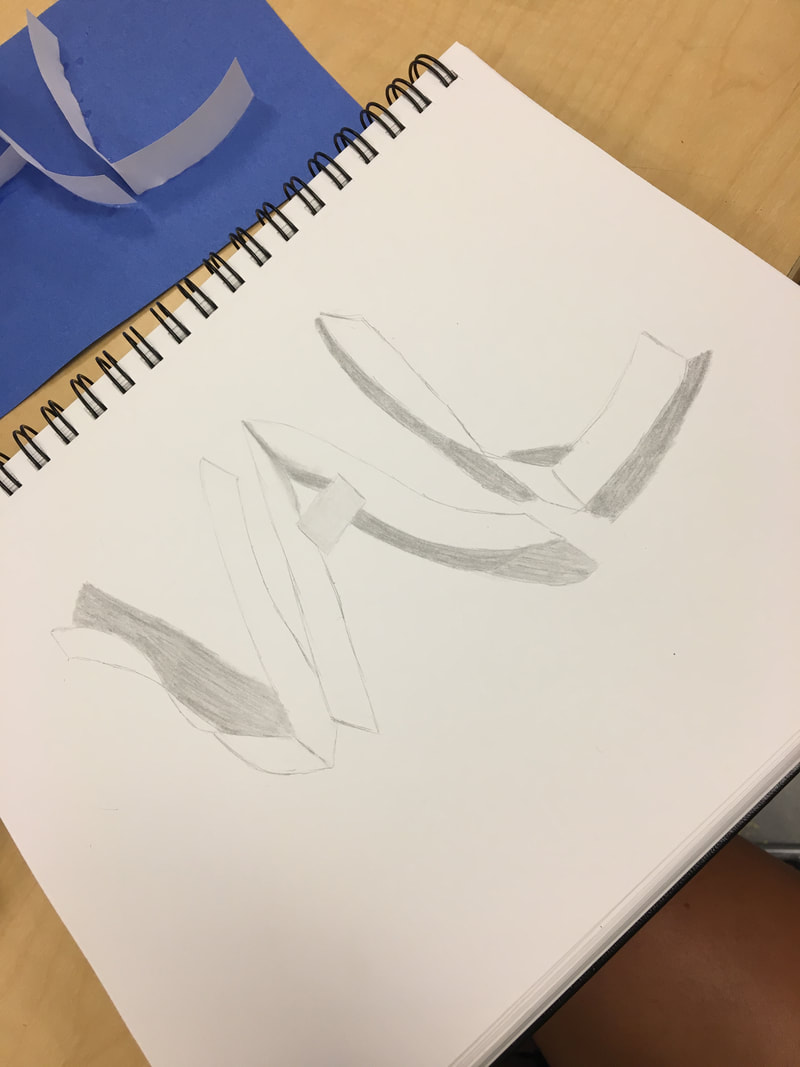
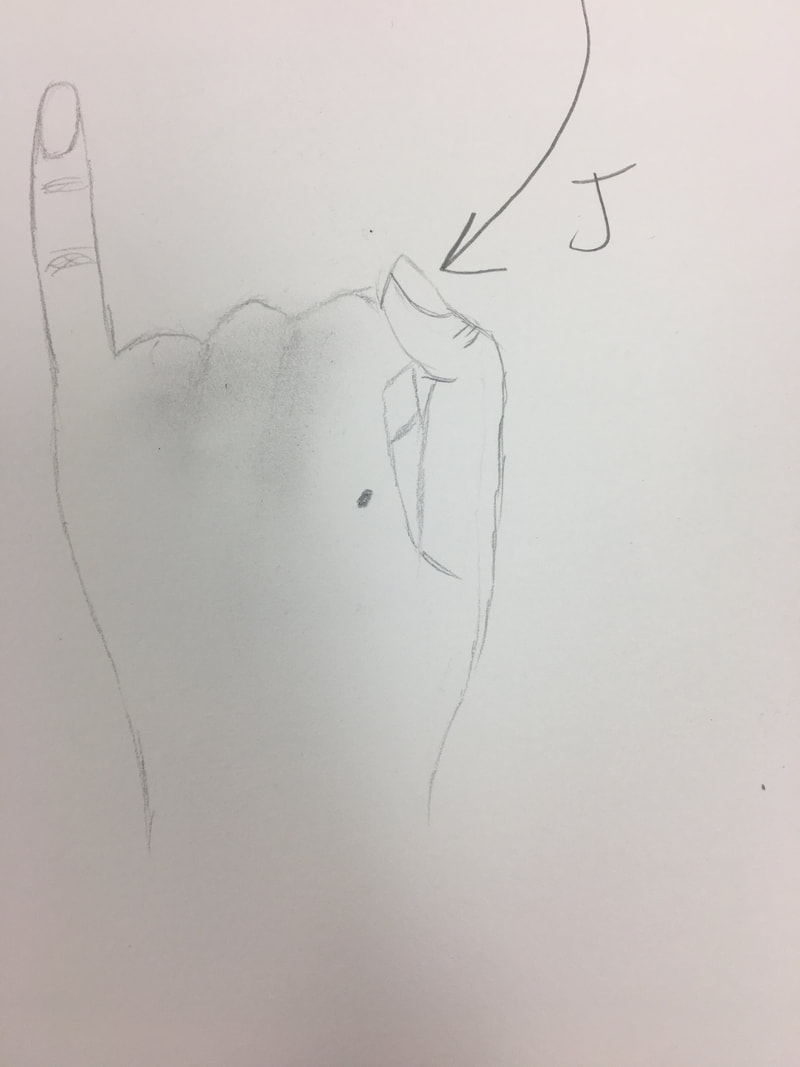
5/28/2019 0 Comments Last Project - Paper Name DrawingPros:
-VAL is easy to make -After drying, it's hard to mess up -Fun to draw Cons: -Using a paintbrush to apply the glue was difficult -My letters are not straight -Drawing the shadows was hard -Computer paper is flimsy Process: First, I cut strips of computer paper about an inch wide. Then, I folded and cut them to make the letters V, A, and L. I used a paint brush and glue to attach them to the blue construction paper and let it dry. My name is pretty easy to make.
0 Comments
5/28/2019 0 Comments Wearable Art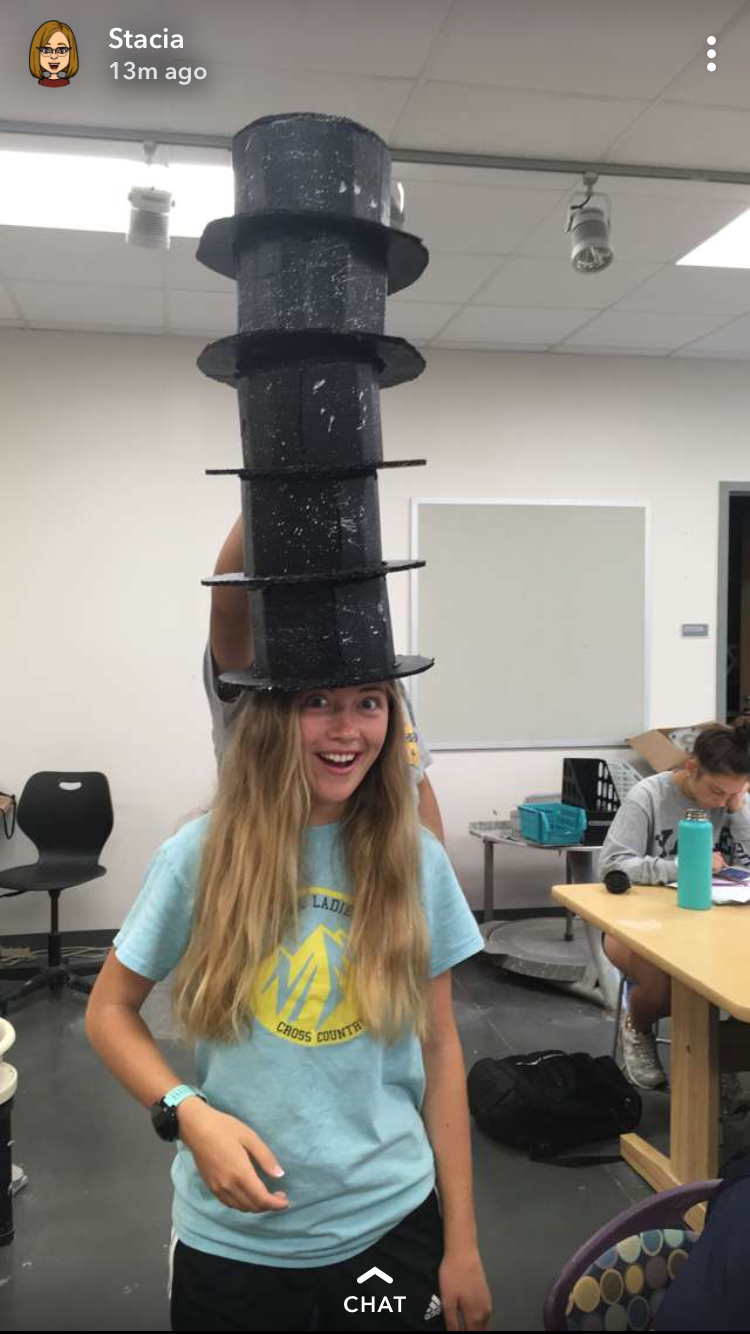 Pros:
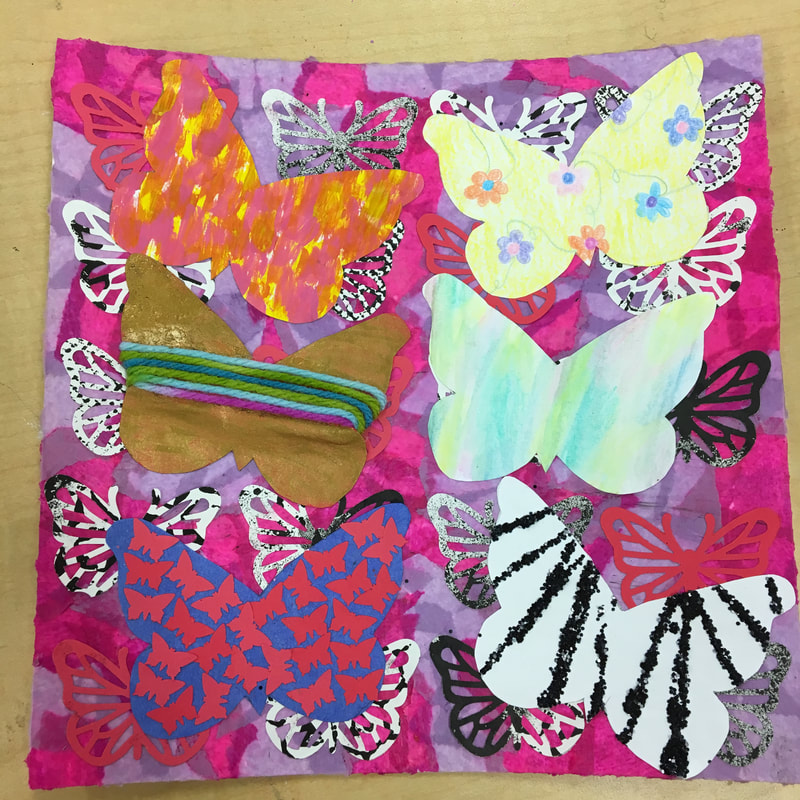
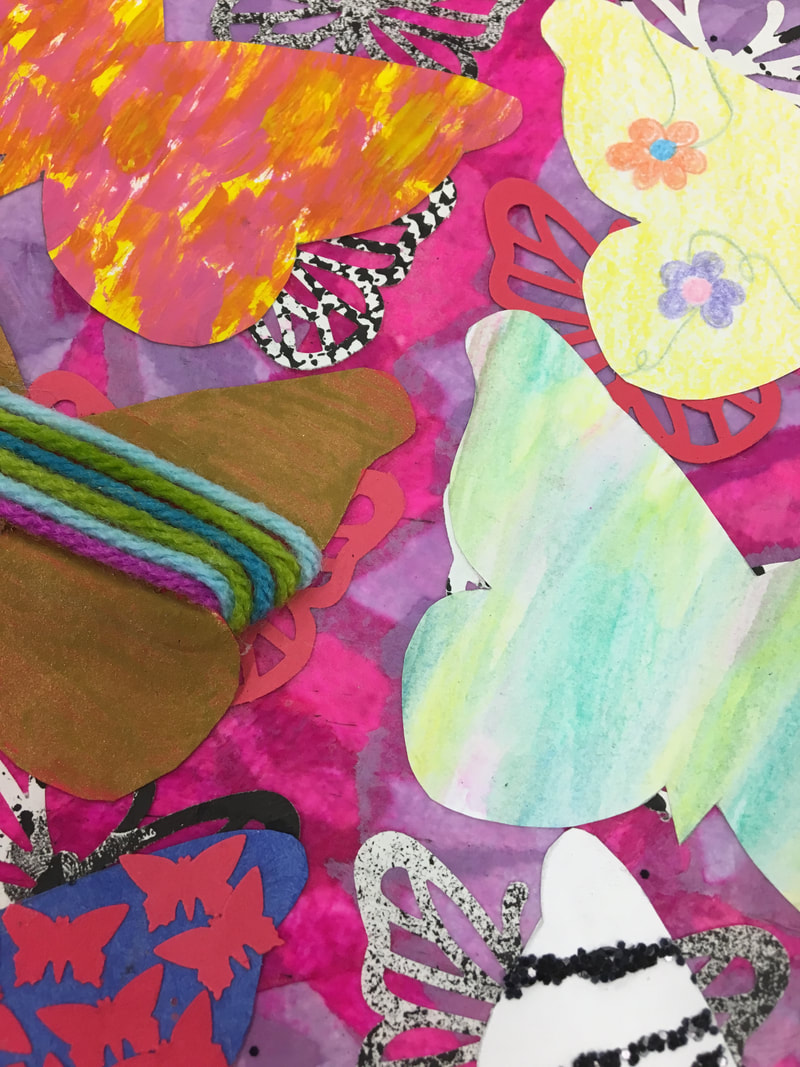
-It was amazing -Since we had stencils, it was easy to make multiple -People wanted them -Fun to make -Sturdy Cons: -None -Not one size fits all -Time consuming Process: We made a stencil to cut out each piece of the hat. We used Ethan's head to measure each part of the hat for the stencil. We traced the stencil onto cardboard and then cut them out. Then, we used hot glue to attach each piece and used small pieces of cardboard to fill in gaps between the brim and the crown. We painted every hat black. After they dried, we used paint brushes to fling white paint onto them to fit the Galaxy theme we had. 5/9/2019 0 Comments Mixed Media Art1. Layers:
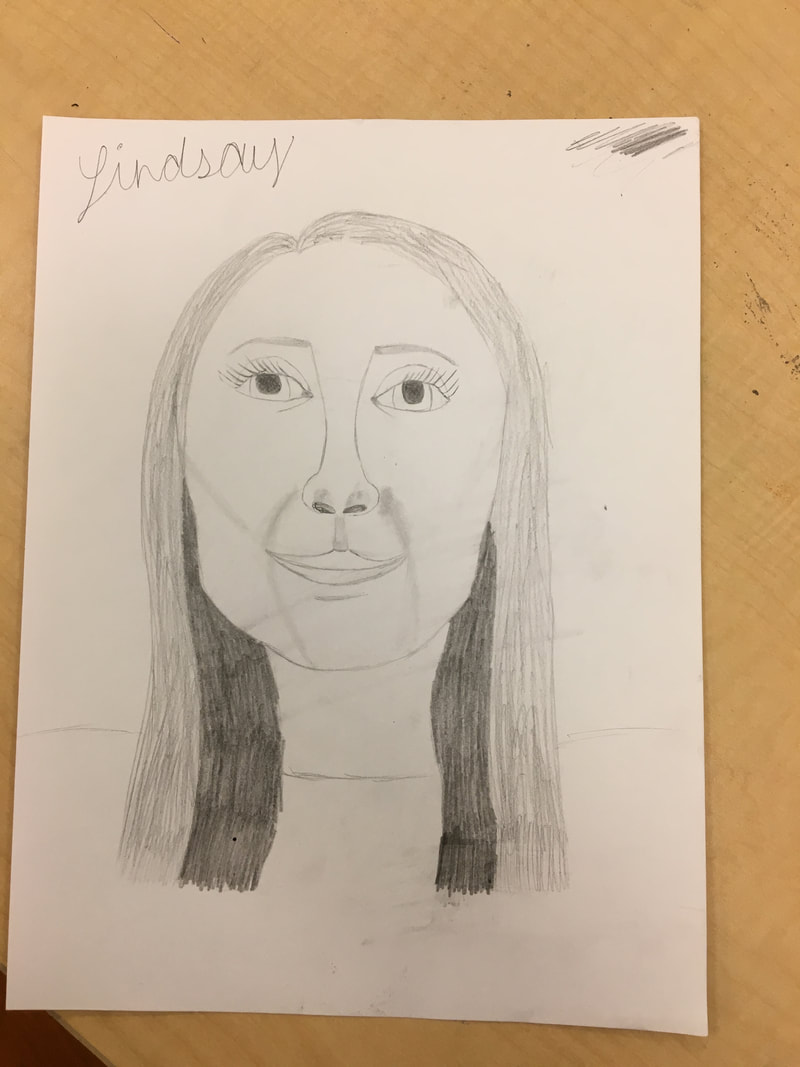
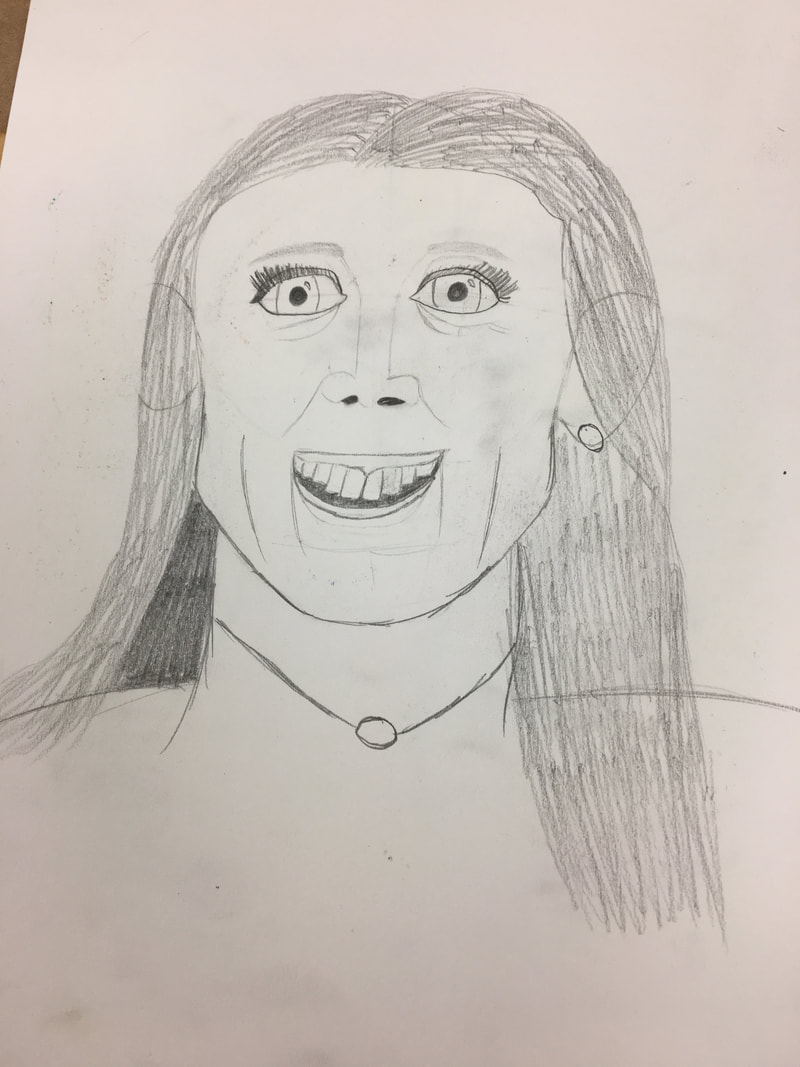
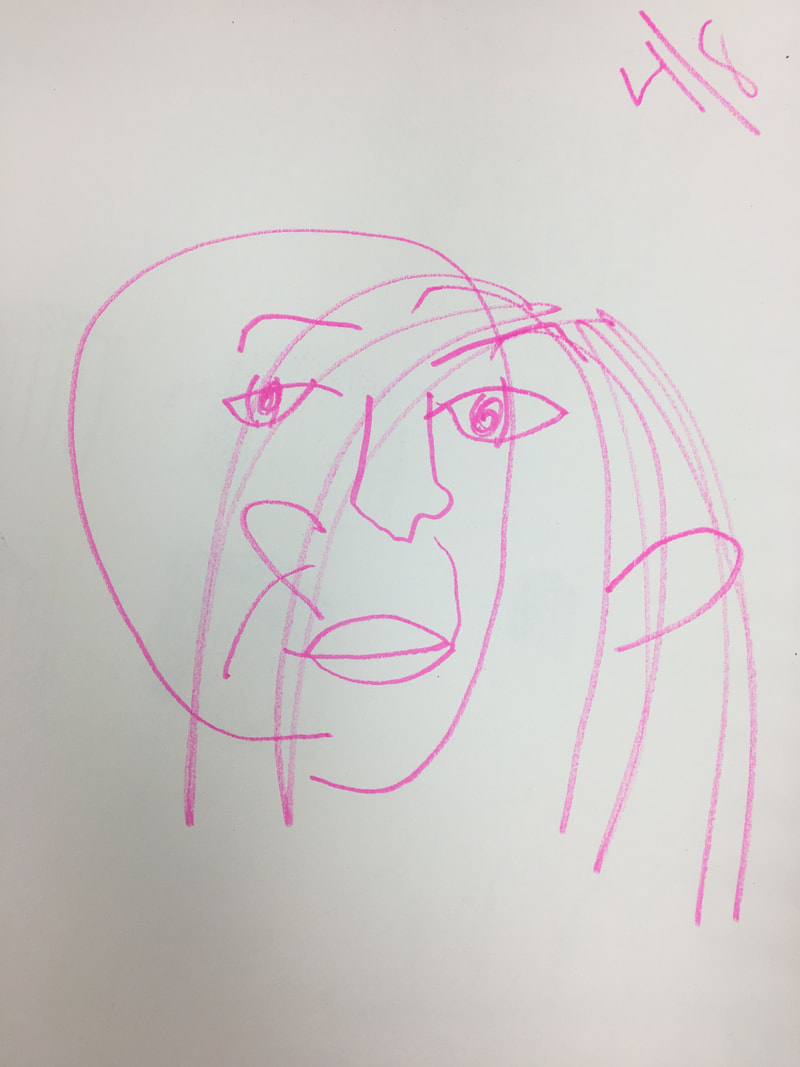
5/6/2019 0 Comments Portrait ProjectThe one on the right is my rough draft (in progress)
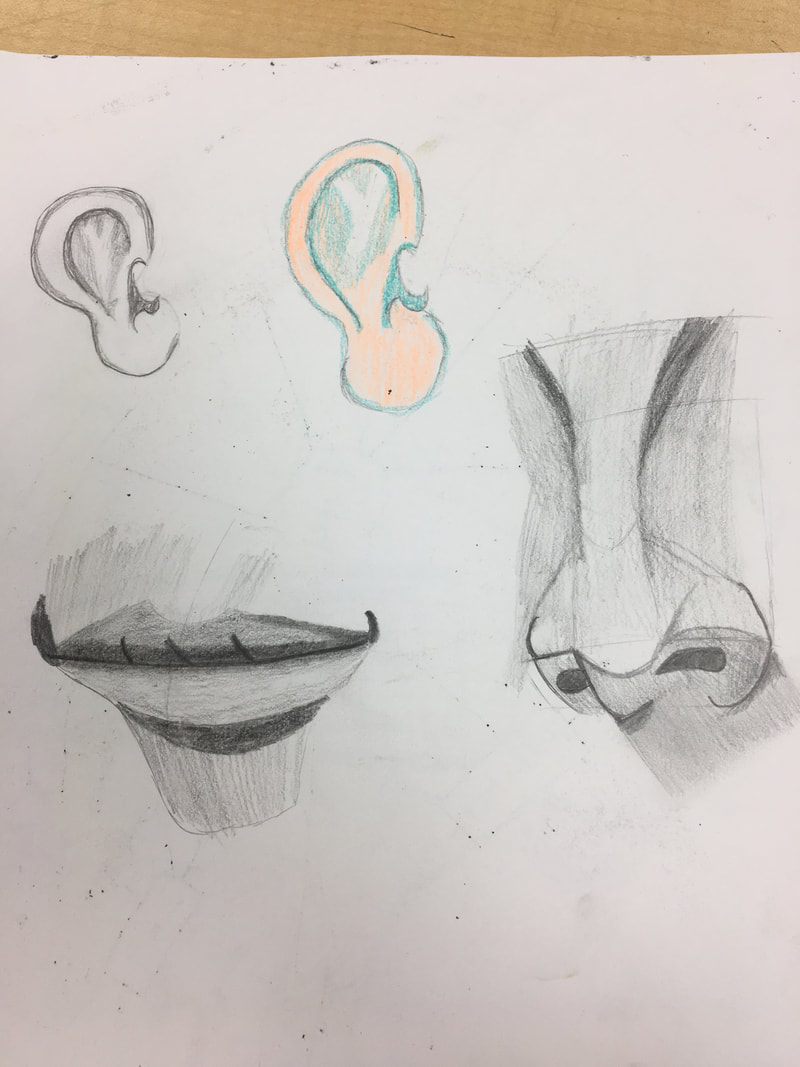
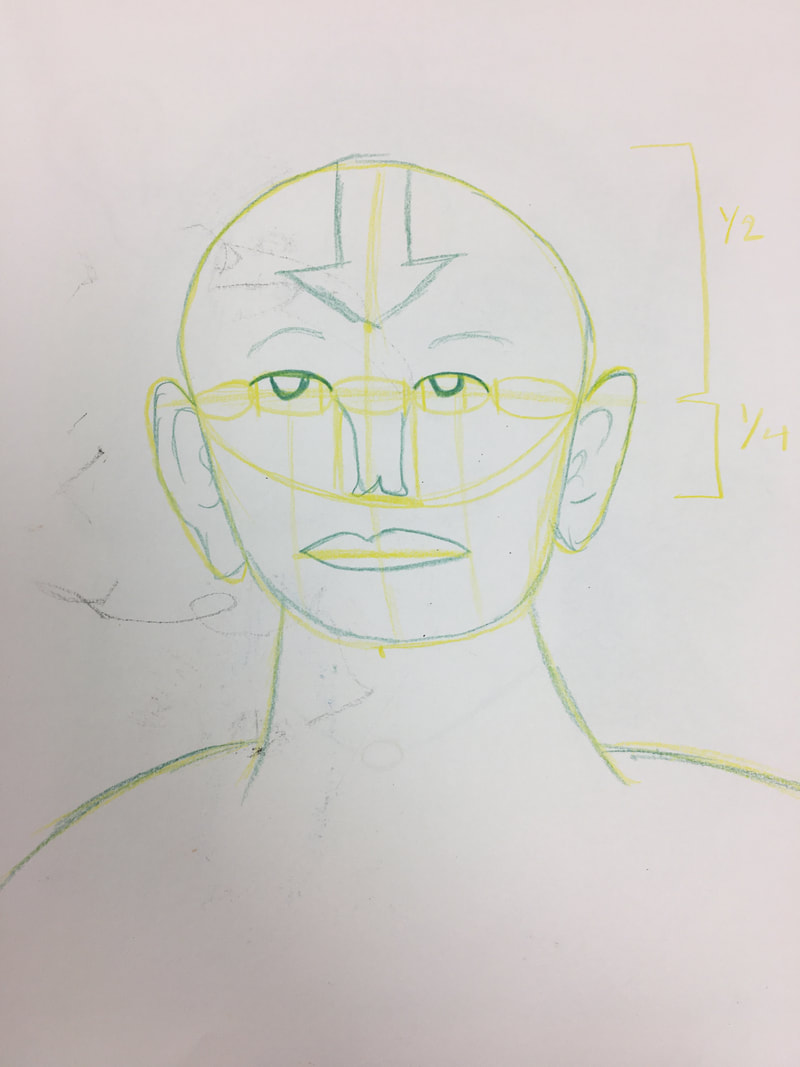
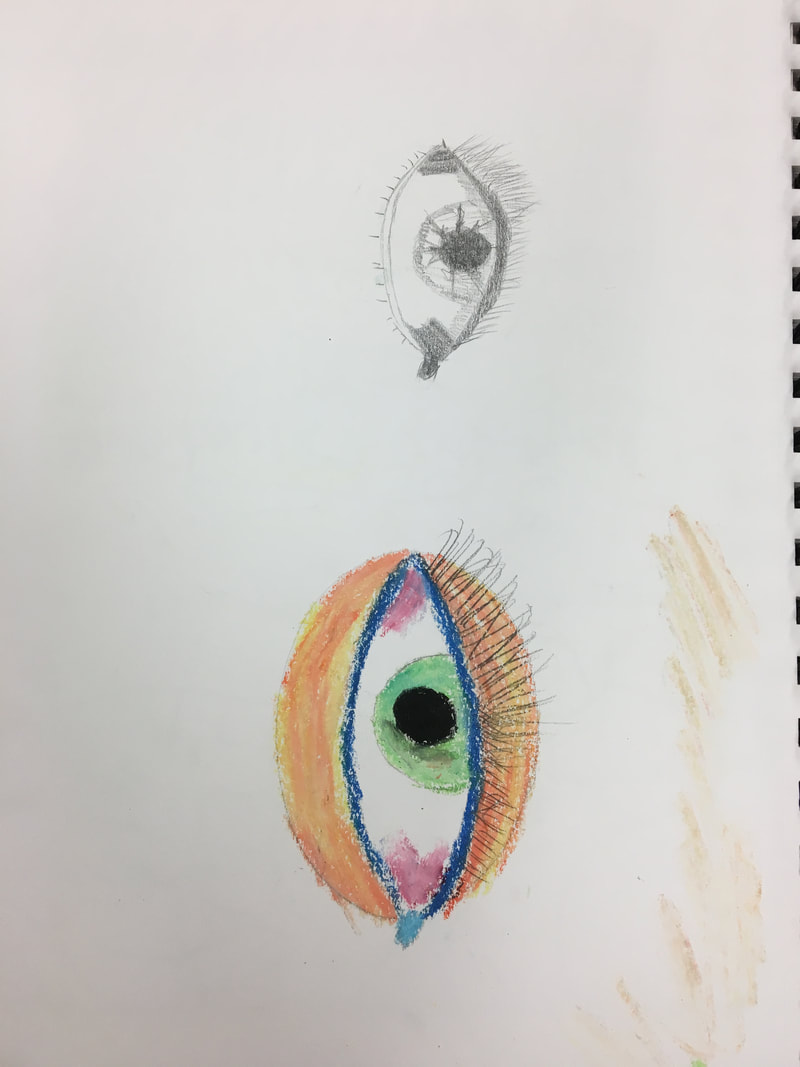
1. I did a portrait of Lindsay Hayden. She is my best friend. 2. I used pencil for this piece. 3. I used the facial proportions warm up to draw her features while looking at a picture of her to try and make them resemble her. I then went in and added shading to finish it. 4. I think I did a good job with the facial proportions, but had a hard time drawing the actual features. I am not sure how I would go about changing this, because I just cant really draw people, but if I were to try it again I would try and make her look less like a dog. 5/6/2019 0 Comments Portrait Warm Up1. The facial proportions warm up was the most helpful in my portrait piece. I would have had no idea what the proportions were supposed to look like, and the face would have looked even weirder. Using my warmup as a guide, I was able to easily draw features in the correct positions.
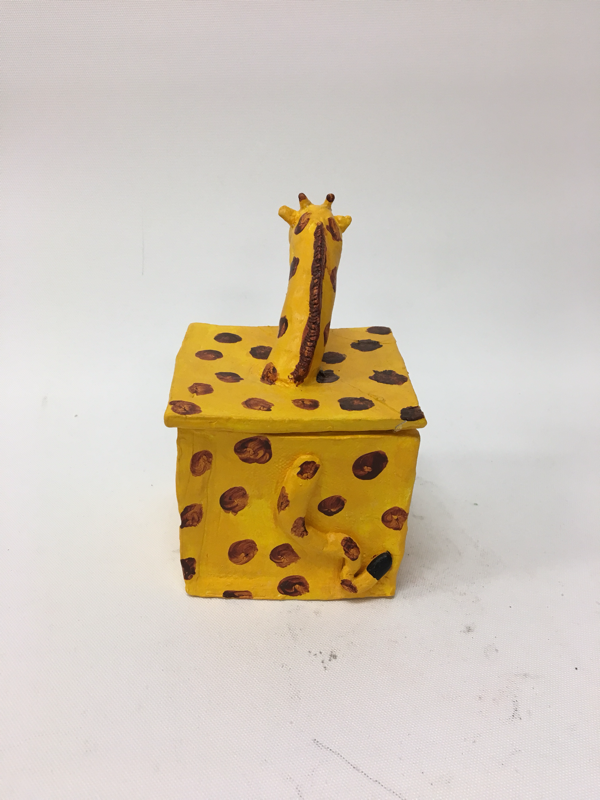
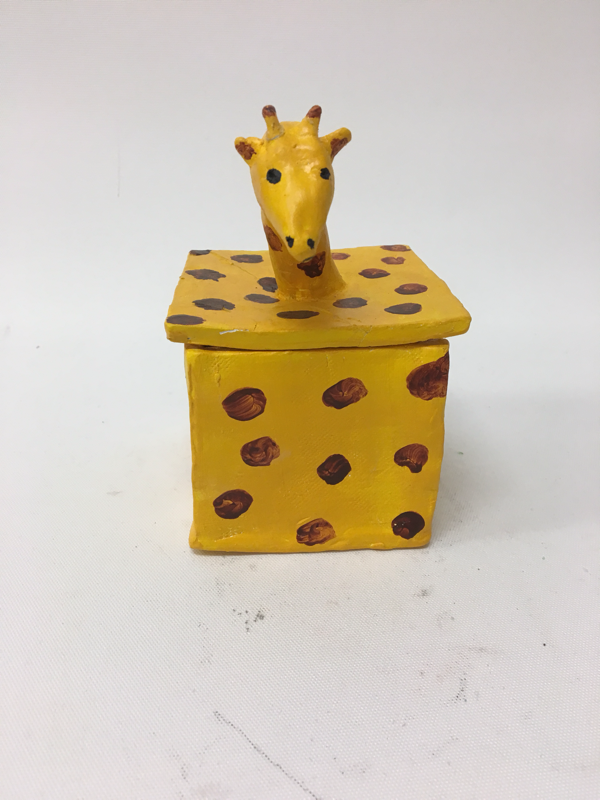
2. I thought the eyes being half way down the head was surprising. I would have never placed the eyes there on my own. It looks weird in the beginning, but ends up making sense in the end. 4/25/2019 0 Comments Finished Sculpture1. Since my in-progress post, my piece has been fired and painted. The box did not have to be fired again because I used acrylic paint.
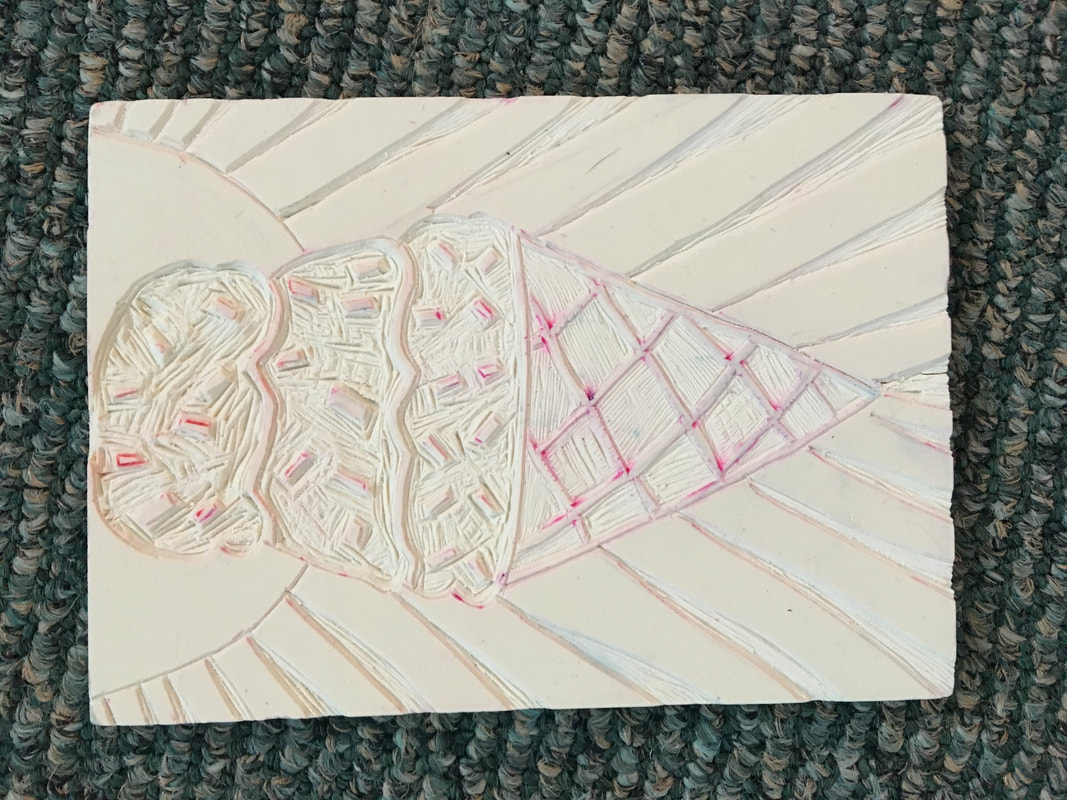
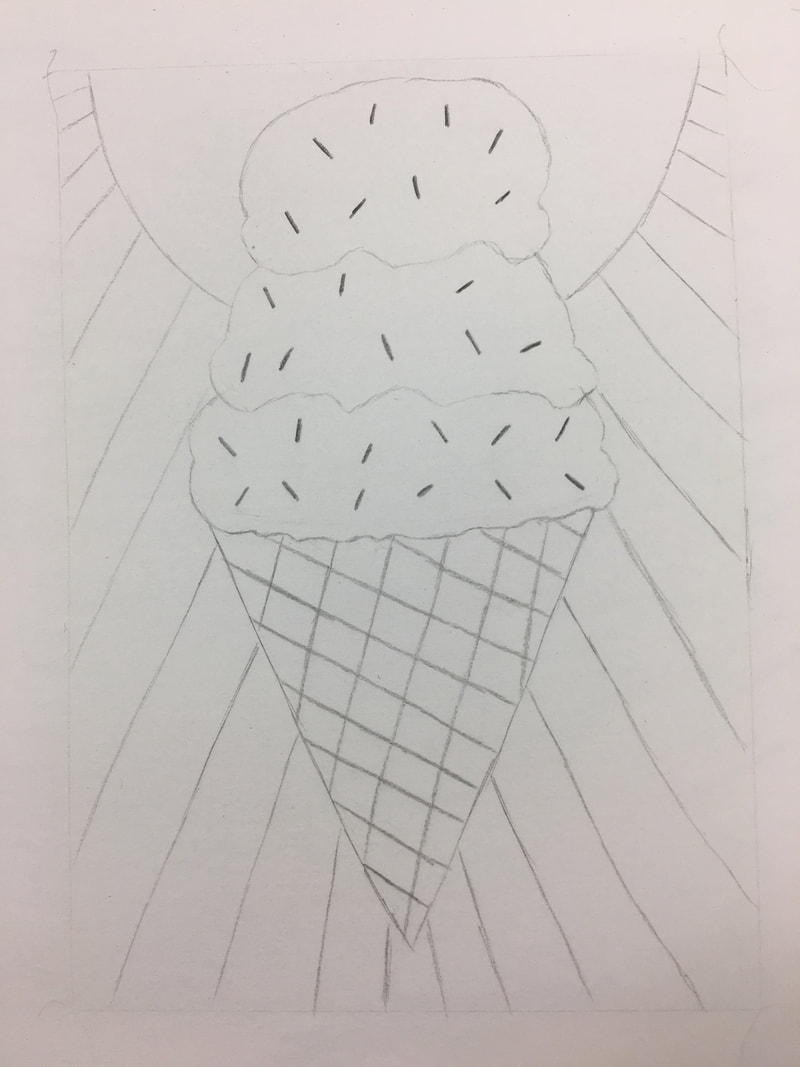
2. I find it successful that my piece survived the kiln without anything breaking. I also think it is very obvious what I was going for with my box. 3. The number one thing I would have changed was to have paid attention to what I was doing and put the tail on the correct side of the box before I fired it. I would have been done with my project one week earlier if I would have done this. Also, the tail being on the wrong side was the beginning of an unfortunate series of events that led to Mr. Giraffe being dropped and broken twice. Poor guy. 3/26/2019 0 Comments Linocut Printmaking1. The theme of "line" is shown here with the lines in the ice cream cone and with the line details from the sunshine in the background.
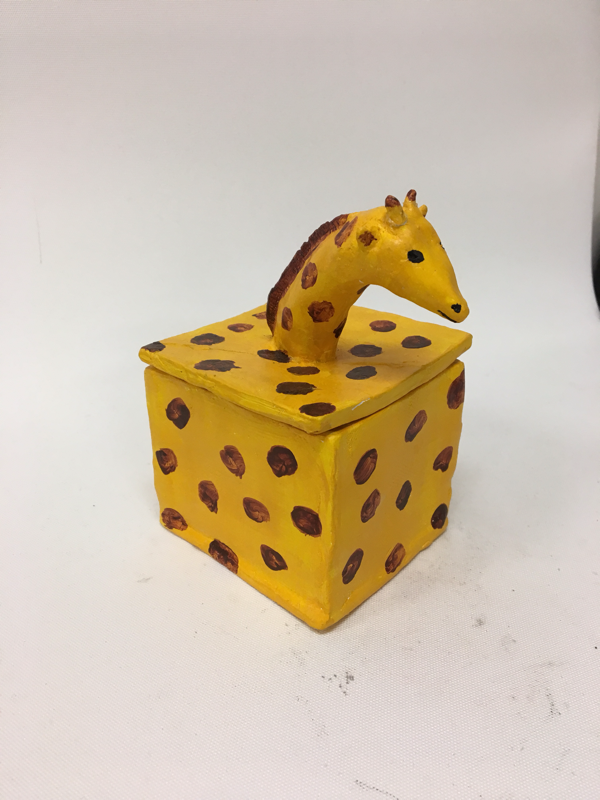
2. I think my piece was overall successful. If I could change something, I would probably make sure the top of the cone was further down from the top of the block. I transferred my sketch to close to the top and while carving, I went a little too close to the edge. I would also try to make the lines from the sun straighter. 3/25/2019 0 Comments In Progress Sculpture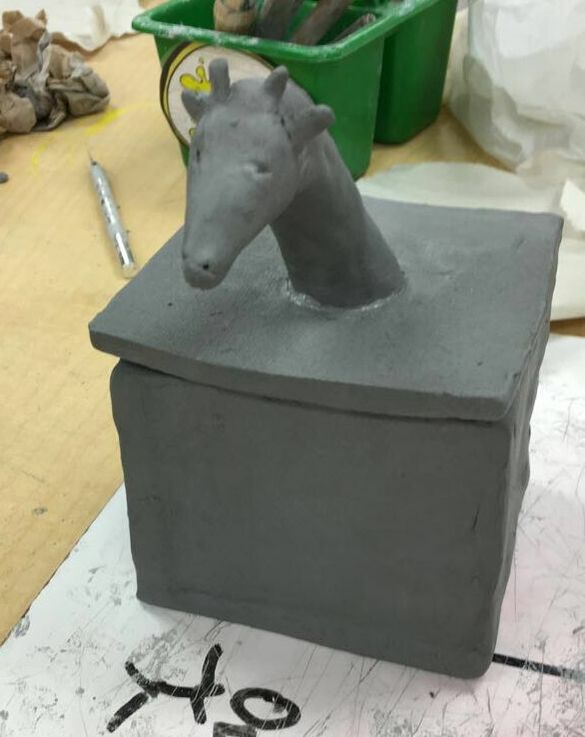 1. The next thing I plan to do is add a tail to my piece. After it is finished being fired, I will either paint or glaze it. I will use yellow and brown to make my clay box look like a giraffe.
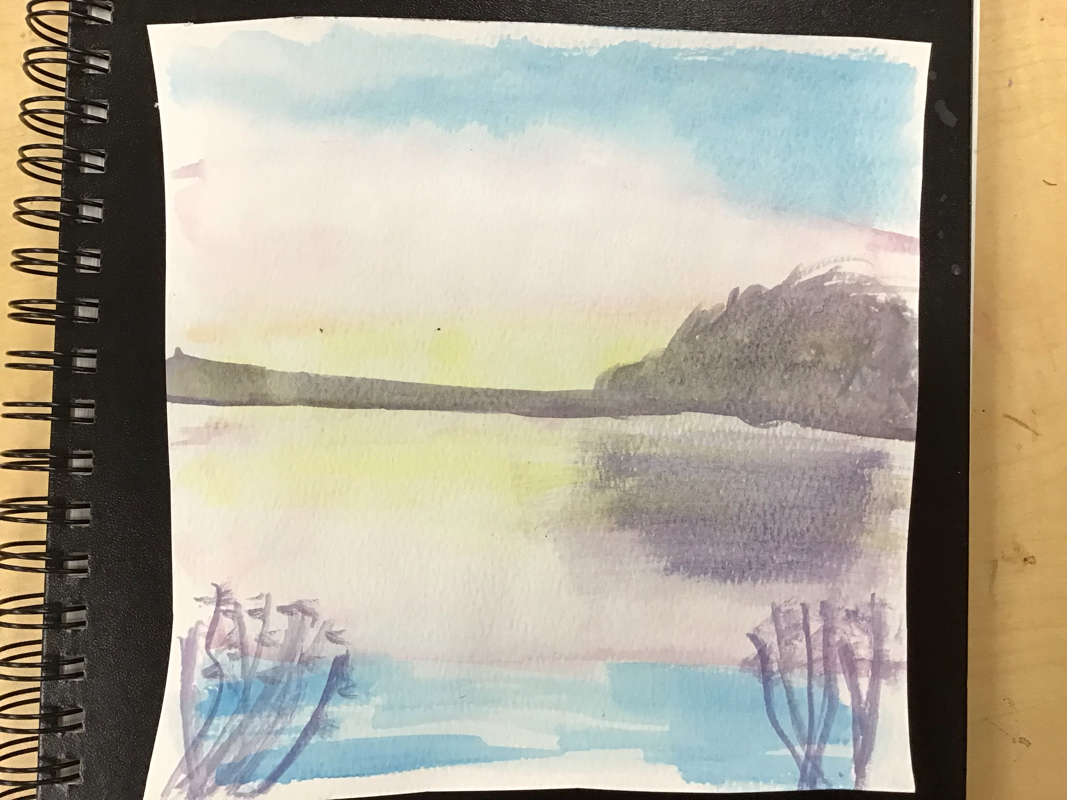
2. The most difficult thing was sculpting the giraffe head. The clay became very hard to work with and kept cracking. 3. Making the actual box was the most successful part of the process. 4. First, I used moist clay to cut square slabs. I scratched and slipped these pieces to make the box shape. Next, I sculpted the giraffe head and neck. I scratched and slipped that to the already leather hard box lid. The sculpture will be put in the kiln to be fired when it is bone dry. 3/6/2019 0 Comments Watercolor Perspective Piece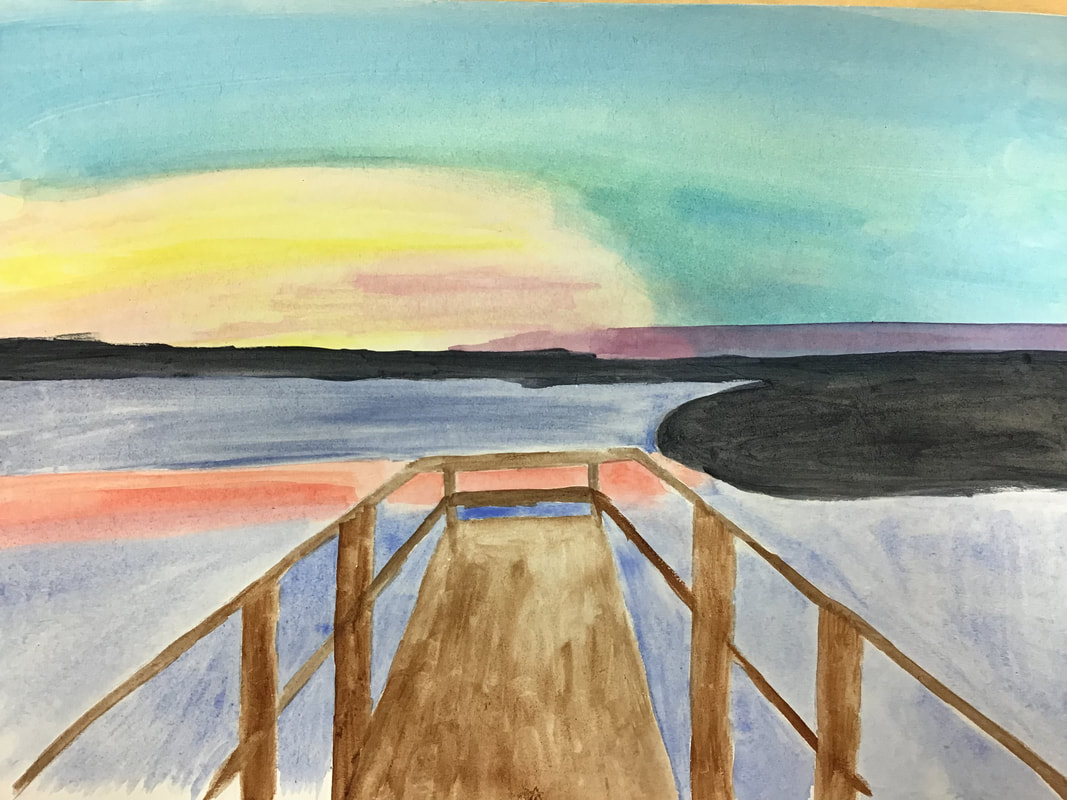 1. I used one point perspective in my painting.
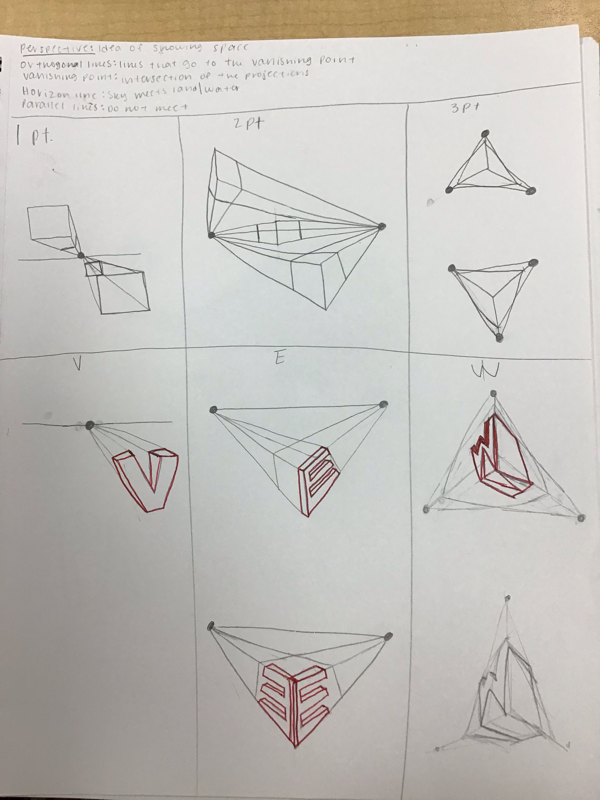
2. I took this photo at Topsail Beach with my friend Sammy. 3. The most difficult thing about the project was trying to get all of the colors to smoothly blend together. 4. These warm ups helped because I learned brush techniques, and how to actually apply those techniques in a real picture before I started work on my piece. The perspective letter warm up was helpful to learn how perspective works and practicing drawing towards the point. |


 RSS Feed
